

Learning how to play violin can feel overwhelming when you look at it all at once. The easiest way through is one step at a time. This roadmap takes you from opening the case to playing your first songs, with short, practical guidance for each stage and links to more detailed guidance when you want to go deeper.
Before You Start: Set Up Your Violin and Tune It
Can you teach yourself violin? You can learn some basics independently, but early feedback from a teacher is especially useful for checking posture, bow hold and intonation. The violin has no frets or keys to show you where notes are, and a good sound depends on both hands working together. The good news is that it is very learnable when you break it into small steps and practice consistently.
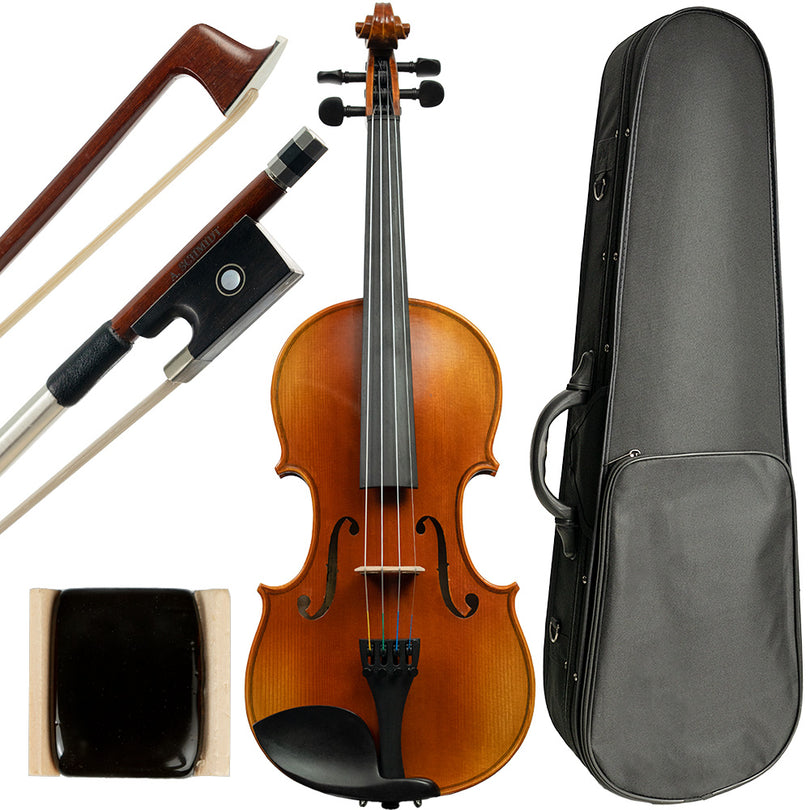
Here is the basic equipment to have ready before your first note:
- A violin in the right size. Most teens and adults use a full-size (4/4) violin, while children often need a fractional size. Choose by comfortable reach and fit, not age alone, and have a teacher or shop confirm the size.
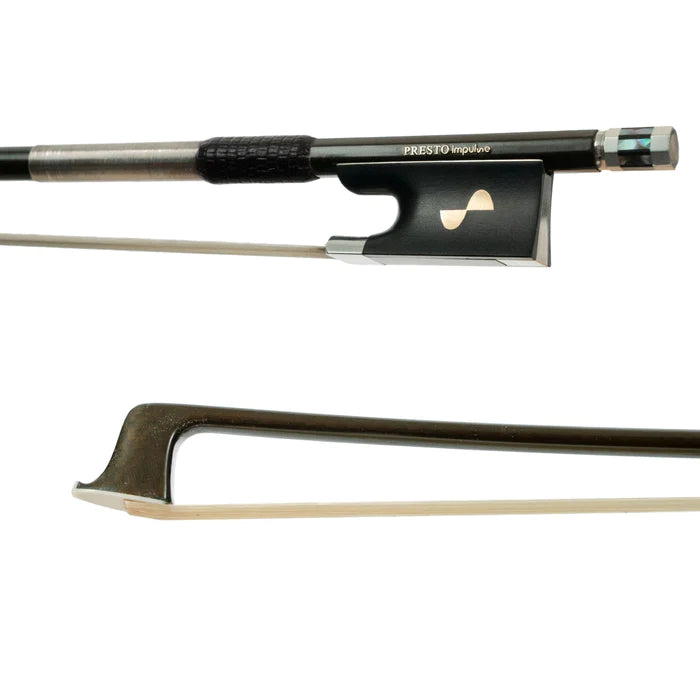
- A bow with clean, even hair.
- Rosin, which gives the bow hair the grip it needs to make the string vibrate.
- A case to protect the instrument when it is not in use.
- A shoulder rest or pad, if needed. The right support depends on your build and setup; a shoulder rest is not compulsory for every player. Ask a teacher to help fit the chinrest and any shoulder support.
- A tuner, either a clip-on tuner or a tuning app.
Many beginner outfits include the violin, bow, case and rosin together. Check the specific contents before buying, since shoulder supports and other accessories vary by outfit and size.
Next, tune your violin. The open strings are G3, D4, A4 and E5, from lowest to highest. A4 = 440 Hz is a common reference; follow your teacher or ensemble if they use another pitch. One practical order is A, D, G, then E. Use fine tuners for small adjustments where fitted. Ask a teacher to demonstrate peg tuning before attempting larger changes, and check the note name on the tuner as well as its pitch indicator.
New strings usually need more frequent retuning while they settle; the time varies by string. Check that the bridge feet sit properly on the top and that the strings remain in their grooves. If the bridge looks tilted or displaced, have a teacher or luthier check it. Our violin tuning guide explains the process in more detail.
How to Hold the Violin and the Bow
A good hold should allow movement without squeezing or strain. If your neck, shoulder or hand starts to ache, stop and review your setup and technique with a teacher rather than practicing through discomfort.
Holding the violin
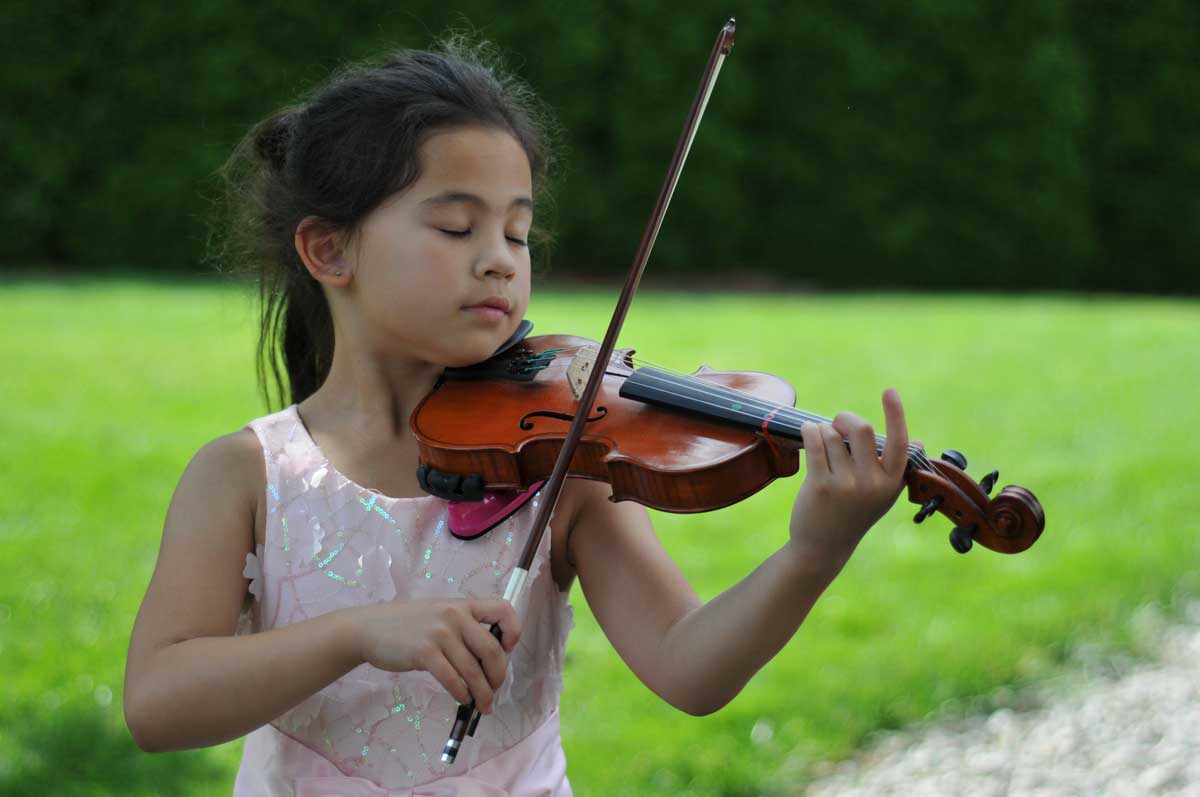
- Rest the violin on your left collarbone, with the left side of your jaw settled into the chinrest.
- Adjust the chinrest and any shoulder support so the violin feels secure without raising your shoulder or clamping down with your jaw.
- Point the scroll forward and to your left, with the violin roughly level. The exact angle should suit your build and allow both arms to move comfortably.
- Keep your left wrist comfortably aligned with your forearm rather than collapsed against the violin neck or held rigidly.
- Let your left thumb make light contact with the side of the neck without squeezing. Its exact position varies with your hand and the notes you are playing; keep the palm clear of the neck.
- Curve your fingers so the fingertips land on the strings from above.
Holding the bow
- For a common beginner bow hold, keep the thumb bent and place it near the junction of the thumb leather and frog. Have your teacher demonstrate the contact point; some teaching methods use a temporary beginner variation.
- Let the middle and ring fingers curve naturally over the stick and frog area, with the middle finger roughly opposite the thumb.
- Let your index finger rest on the stick near its middle joint, ready to add weight when needed.
- Place the tip of your curved pinky on top of the stick, where it acts as a balance point.
- Keep the fingers flexible rather than squeezing or locking the joints.
Check for unnecessary tension in both hands. Practice the bow hold with a teacher or with the bow safely supported; there is no need to test your grip by letting go of fingers while holding the instrument.
Make Your First Sounds: Open Strings, Bowing and Rosin
Before playing, tighten the bow only enough for the hair to clear the stick during normal playing, keeping the stick's inward curve. Ask a teacher to show you suitable tension for your bow rather than tightening until the stick becomes straight.
Apply rosin as needed with gentle, even strokes along the hair, avoiding impacts between the rosin and the frog or tip. New or freshly rehaired bow hair may need an initial application; a bow already in use may need only a little. More rosin is not always better, and a new cake alone does not mean the bow needs extra. Avoid touching the hair with your fingers. After playing, loosen the bow hair before putting the bow away.
Now play an open string, with no left-hand fingers down. Your tone depends on three things working together:
- Weight: how much the arm sinks into the string.
- Speed: how fast the bow moves.
- Contact point: where the bow meets the string, usually about halfway between the bridge and the end of the fingerboard.
Keep the bow parallel to the bridge. Start with comfortable strokes around the middle of the bow on the A and D strings. As control improves, gradually use more bow and try counting four steady beats for each down-bow and up-bow, without pressing or slowing so much that the sound breaks up.
If your sound is not what you expected, try one adjustment at a time. These are possible causes to investigate, not a diagnosis from the sound alone:
| What you hear | Possible cause | What to try |
|---|---|---|
| Scratchy or crunchy | Too much weight for the bow speed, or too close to the bridge | Lighten the arm, move the bow faster, or play slightly closer to the fingerboard |
| Whistling or squeaking | Unintended string contact, an uneven bow start, or a string-specific response issue | Check for fingers touching a neighboring string and try a steady bow start; ask a teacher about persistent E-string whistles |
| Weak or airy | Bow speed, weight and contact point are not balanced; rosin may also need checking | First adjust speed, weight or contact point slightly; add a little rosin only if the bow lacks grip |
| Bow drifts along the string | Bow path or contact point is not steady | Use a shorter stroke and check the bow path in a mirror |
Once single strings sound steady, practice crossing between them. Each string needs a different bow level. Make small, coordinated movements of the arm, wrist and fingers rather than jerking the shoulder or locking the wrist. Alternate four notes on the A string with four on the D string, then two and two, then one and one.
Learn Notes and Finger Patterns, Then Play Your First Songs
Most beginners start in first position, with the hand near the scroll end of the fingerboard. Each finger raises the pitch of the open string. One useful starting pattern on the D and A strings is whole step, whole step, half step: the first finger sits a whole step above the open string, the second a whole step above the first, and the third a half step above the second, so the second and third fingers sit close together. Whether they physically touch depends on your hand and instrument size.
On the A string, that pattern gives you B, C sharp and D. On the D string, it gives you E, F sharp and G. Together with the open D and A strings, these give you a one-octave D major scale: D4–E4–F♯4–G4–A4–B4–C♯5–D5. This is one first-position pattern; other keys use different finger placements.
Finger tapes are thin stickers placed on the fingerboard to mark where each finger goes. A teacher can place them for the pattern you are learning. Use them as a temporary guide, listen to the note first, and use a tuner or reference pitch for occasional checks rather than watching the display continuously.
To read basic notation, start with the open strings on the treble clef staff: G3 is below the staff, D4 sits in the space just below the bottom line, A4 is in the second space from the bottom, and E5 is in the top space. In 4/4 time, a quarter note lasts one beat, a half note two beats and a whole note four beats. Counting changes with the time signature.
Choose beginner arrangements in a key that matches the notes you know. A practical sequence is:
- Hot Cross Buns: an A-major version uses C♯5, B4 and open A4.
- Mary Had a Little Lamb: begin with a simplified three-note version; fuller arrangements may introduce additional notes.
- Twinkle, Twinkle, Little Star: an A-major version starts on open A and crosses to open E, adding F♯5 with the first finger on the E string.
- Ode to Joy: a basic D-major version uses D4, E4, F♯4, G4 and A4 across the D and A strings.
A Flexible Practice Plan and Whether to Get a Teacher
Short, regular sessions give you frequent chances to revisit the basics. Try 15 to 20 minutes on most days if you can stay comfortable and focused; younger beginners may need shorter sessions. Split the time into four parts: a warm-up to check posture and bow hold, open-string bowing, scales or finger patterns, and a piece.
Use the following as a sample four-stage plan, not a four-week deadline. A stage may take several sessions or several weeks; repeat it until the skills feel comfortable.
| Stage | Focus | Skill to build before moving on |
|---|---|---|
| 1 | Setup, violin hold, bow hold, long bows on the A and D strings | A steady, even sound on two open strings |
| 2 | All four open strings, string crossings, first finger on A and D | Clean crossings between neighboring strings |
| 3 | Whole, whole, half pattern on A and D | A one-octave D major scale, plus simplified Hot Cross Buns and Mary Had a Little Lamb |
| 4 | First finger on the E string, longer melodies | Twinkle, Twinkle, Little Star and Ode to Joy at a slow, steady tempo |
So how long until you can play a song? A short, simplified tune may be possible in the first few weeks, but there is no fixed timetable. Age, previous musical experience, instruction and practice all affect progress. Playing the notes and producing a consistently clear tone are separate milestones, so give both time.
A teacher can help from the first lesson; you do not need to wait until a problem develops. Seek feedback particularly if:
- Your neck, shoulder, wrist or hand feels tense or sore after practice.
- Your notes stay out of tune even with finger tapes and a tuner.
- Your sound remains scratchy and you cannot tell which adjustment helps.
- You feel stuck or unsure what to practice next.
Even a few lessons can catch habits that are much harder to fix later.
Get Set Up to Start Playing
The right setup makes every step on this roadmap easier. If you are still choosing an instrument, our beginner violin guide walks you through sizes, outfits and what to look for. For a simple start, we recommend Franz Hoffmann® violins, such as the Franz Hoffmann® Amadeus Violin Outfit. You can also compare our Franz Hoffmann® Deluxe Outfits. Check each product listing for its included accessories and available sizes.
Already have a violin? If needed, choose a well-fitted shoulder rest, rosin and violin sheet music in a beginner arrangement for the songs you are ready to learn next.
FAQ
Can I teach myself to play the violin?
You can learn some basics on your own with structured instruction and consistent practice. A teacher can check things that are difficult to judge yourself, especially posture, bow hold and intonation. Even a few lessons early on can help you build better habits.
Is the violin hard to learn?
The violin can be challenging at first because it has no frets to mark finger positions, and both hands must coordinate to produce a steady sound. Breaking learning into small steps and practicing regularly makes the task more manageable.
How long does it take to play a simple song on the violin?
A short, simplified tune such as Hot Cross Buns may be possible within the first few weeks, but there is no fixed timetable. Progress depends on your starting point, instruction and practice. Playing a melody and producing a consistently clear tone are different skills that develop over time.
How do I play the violin as a complete beginner?
Start with a correctly sized, properly set-up violin and learn to tune it with help if needed. Work on a comfortable violin hold and flexible bow hold, then practice steady strokes on open strings. Add a basic finger pattern on the D and A strings, build a one-octave D major scale, and try simple arrangements of Hot Cross Buns and Ode to Joy.
What equipment do I need to start playing the violin?
Start with a correctly sized violin, bow, case, rosin and a tuner or tuning app. A shoulder rest or pad may help, but the right support depends on your individual fit. Many beginner outfits bundle the main items; check exactly what is included before buying accessories separately.
How often should a beginner practice?
Try 15 to 20 focused minutes on most days, adjusting the length to your age, comfort and attention. Younger beginners may do better with shorter sessions. Take breaks and stop if something hurts; a teacher can help adjust your setup and routine.
What size violin should I buy?
Most teens and adults use a full-size (4/4) violin, while children often need a fractional size. Arm length and comfortable reach matter more than age alone, and some adults benefit from a smaller instrument. Have a teacher or violin shop confirm the fit. Our beginner violin guide explains sizing and outfit choices.