

Learning how to hold a violin is one of the first skills a new player builds. A balanced, comfortable hold gives your left hand room to move and helps your bow arm reach the strings. The aim is to support the instrument securely without unnecessary squeezing. In this guide, we'll walk through the main areas of support, how to get into playing position, how to assess your chinrest and shoulder support, and how to check common beginner habits.
How a Violin Is Supported
Many beginners try to hold the violin by clamping it between the chin and shoulder. A more balanced hold shares support between the upper body and left hand. The exact balance varies with your build, equipment and playing technique:
- The collarbone area. The back of the violin near its lower end rests against or near your left collarbone, with the contact affected by any pad or rest you use.
- The jaw and chinrest. Comfortable contact between the jaw and chinrest helps stabilize the instrument. You should not need to clench your jaw or push your head down forcefully.
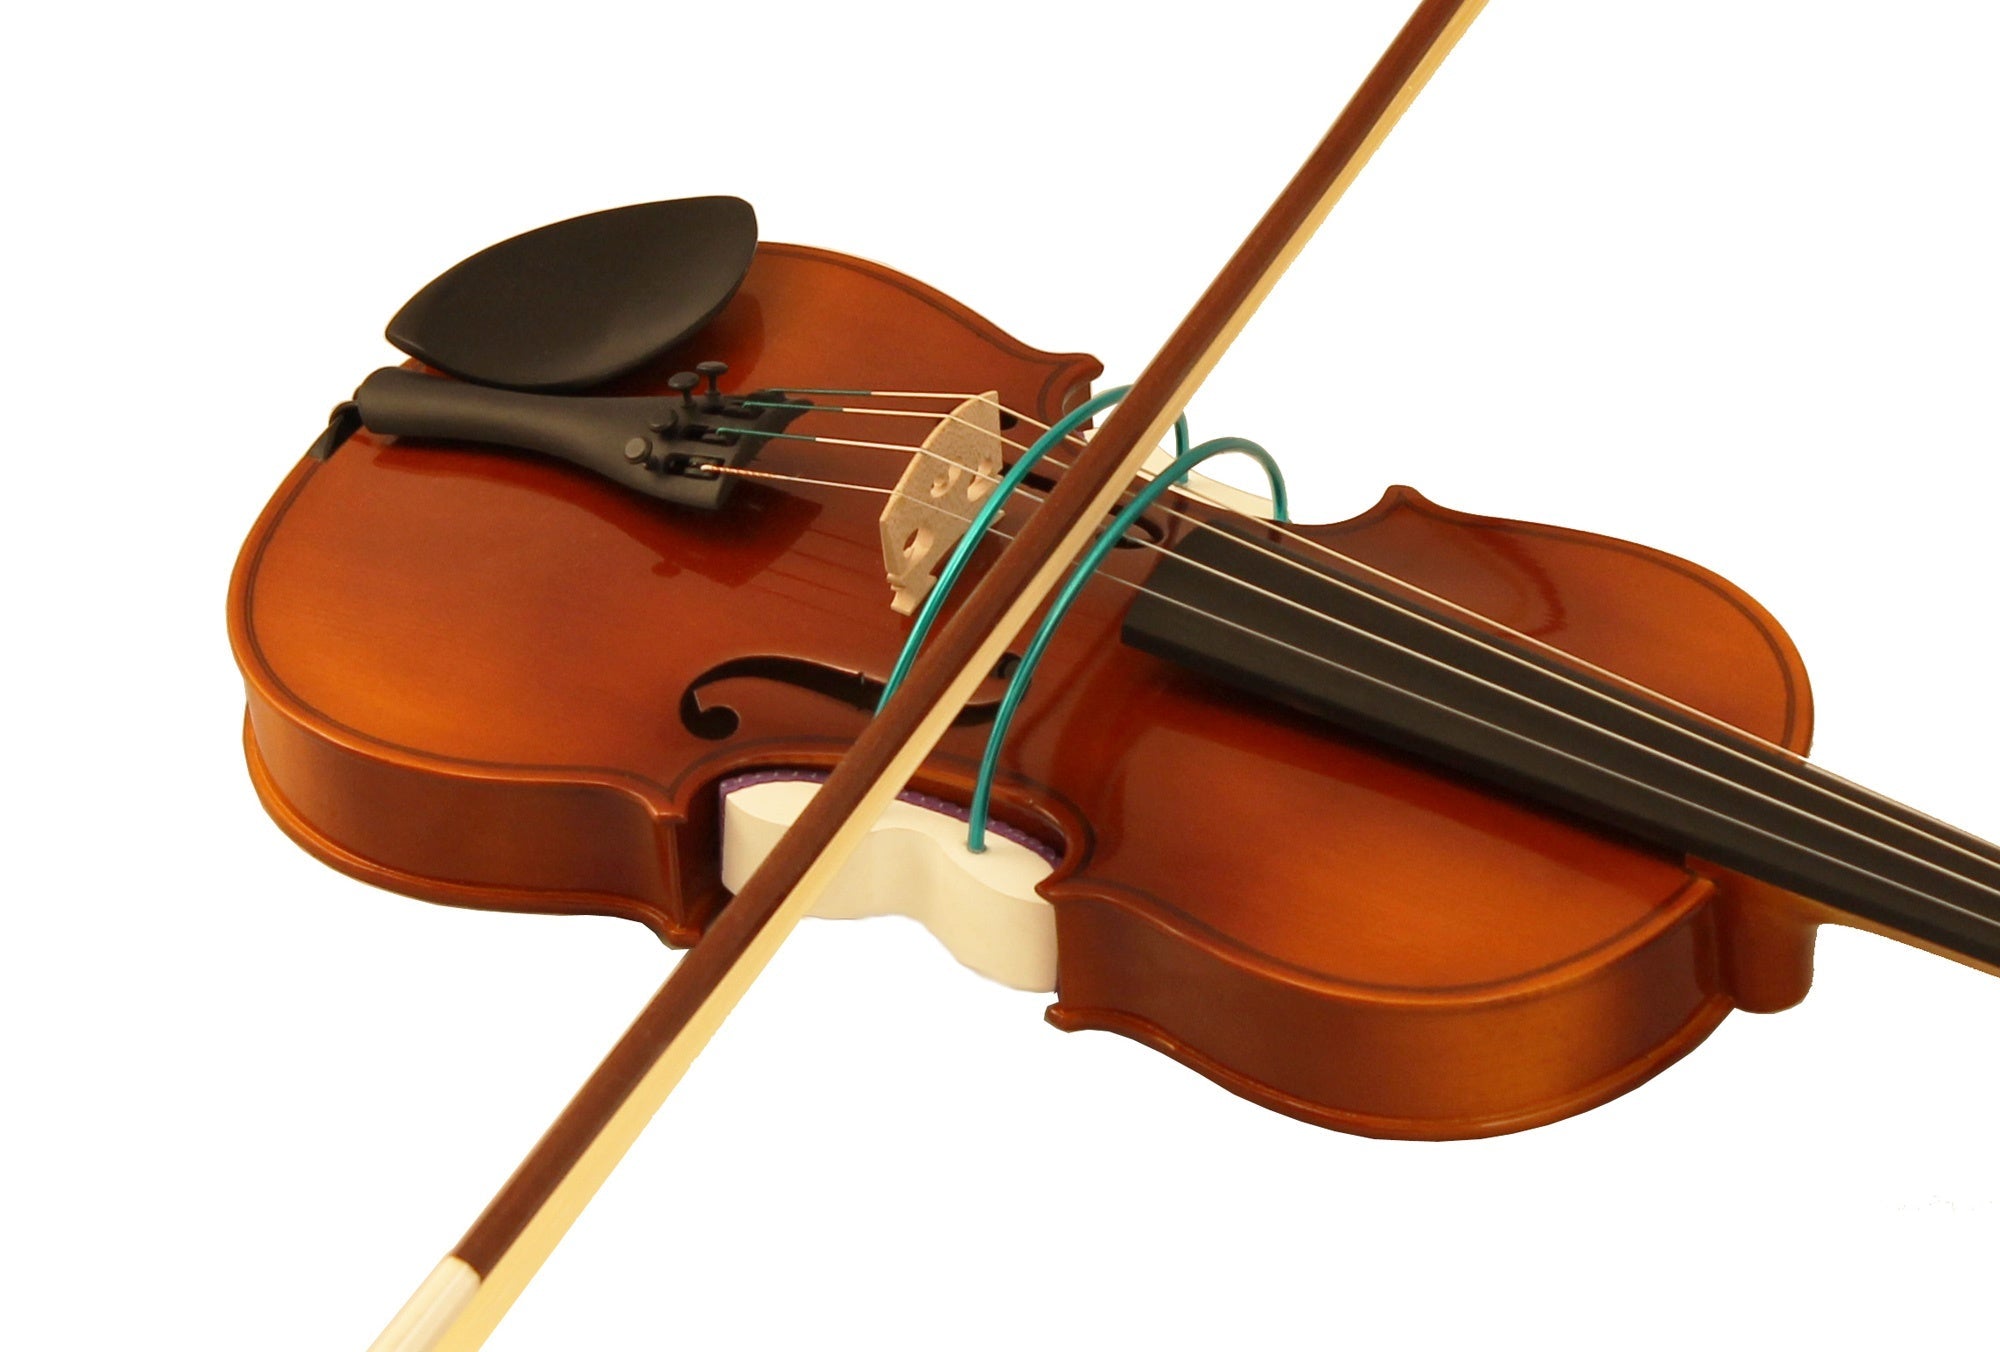
- Optional shoulder support. A shoulder rest or pad can help fill space and reduce slipping. Some players use a rest, some use a pad, and some play without either. A rigid shoulder rest is not a required contact point for everyone.
- The left hand. Your hand gives light, adaptable support to the neck while allowing the fingers to move. How much support it provides can change as you play.
These areas work together; they do not have to carry equal amounts of weight. Your goal is a secure hold that leaves your neck, shoulders and hand free to move.
Keep the violin supported while checking your balance. With a teacher's help, notice whether you are squeezing with your thumb, raising your shoulder or pressing with your head. You do not need to prove that you can hold the violin without your left hand, and you should not release it as an unsupervised drop test.
Step-by-Step: Getting Into Playing Position
Use these steps as a starting point, with a teacher helping you adapt them to your body. A mirror can help you notice changes without turning your head to look at the violin.
Step 1: Stand tall and balanced. Place your feet comfortably apart, with your weight balanced and knees relaxed. Avoid forcing your back into an exaggerated arch.
Check: Can you breathe and move comfortably without locking your knees?
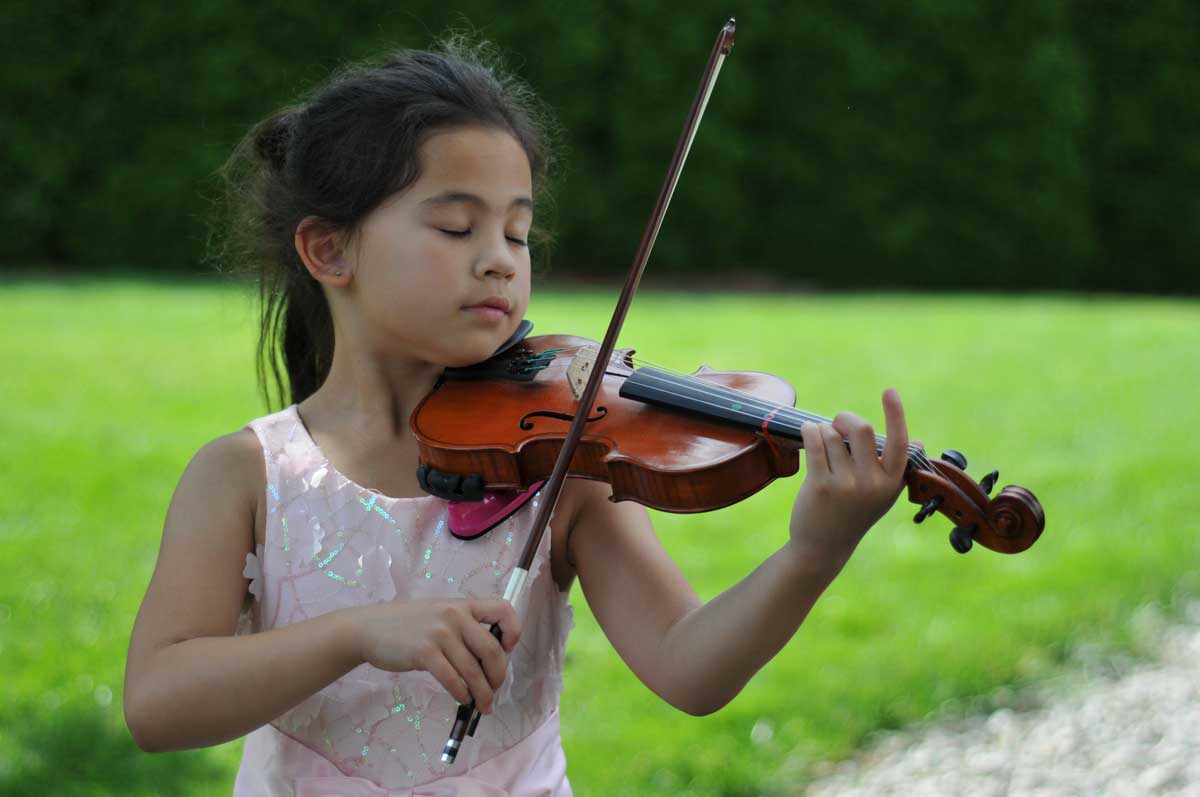
Step 2: Bring the violin into place. Support the neck with your left hand and the lower body with your right hand as you bring the instrument toward your left collarbone. Keep your hands clear of the bridge. Let the scroll point forward and to your left.
Check: Are you bringing the violin to a comfortable position, rather than lifting your shoulder to meet it?
Step 3: Make gentle contact with the chinrest. Turn your head only as much as needed for your jaw to meet the chinrest comfortably. The exact contact depends on the chinrest's shape and position. Keep the violin supported as you find that fit.
Check: Is your jaw unclenched, with no need to crane your neck forward or press down hard?
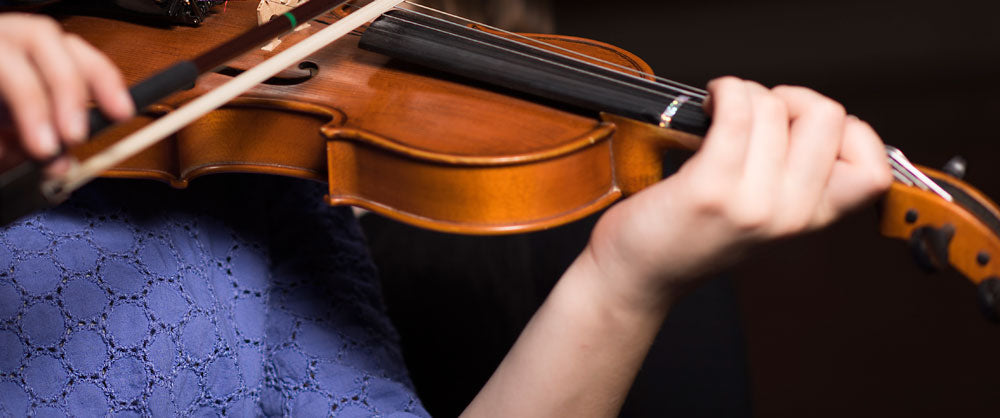
Step 4: Settle your left hand around the neck. In first position, let the thumb contact the side of the neck lightly and keep the palm clear. Aim for a comfortable alignment between the wrist and forearm, rather than a collapsed or rigidly straight wrist.
Check: Can your fingers move without the thumb squeezing against the neck? Keep the instrument supported while checking.
Step 5: Adjust the direction and tilt. Start with the violin roughly level, with the scroll forward and to your left. Adjust the angle so your left arm can reach comfortably and your bow arm can access all four strings. Your teacher can help find the right amount of tilt.
Check: Are you lifting the scroll unnecessarily or letting it sag? There is no universal eye-height or nose-height target.
Step 6: Check for unnecessary tension. Take a comfortable breath and notice your jaw, shoulders, thumb and wrist. Release excess effort while continuing to support the violin.
Check: Do you feel balanced and able to move? Avoid forcing your shoulders into a perfectly symmetrical position.
Chinrest and Shoulder Rest: Getting the Fit Right
Neck length, shoulder shape and jaw shape all affect how a violin fits. Consider the chinrest and any shoulder support together. Raising a shoulder rest alone is not always the best way to accommodate a longer neck.
Shoulder rest height. A rest that is too low or too high for you may encourage compensations such as shrugging, reaching with the head or tilting the neck. These movements are clues to review the whole setup, not proof that one particular adjustment will solve the problem. Ask a teacher to help assess both the chinrest height and the shoulder support.
Shoulder rest shape and angle. Many bridge-style rests allow changes to height, width and placement; pads and other designs work differently. Make one small adjustment at a time, check that the support is securely fitted, and try a short period of comfortable playing. Do not keep using a painful setting for several days to see whether you get used to it.
Chinrest style. Chinrests vary in cup height, depth, shape and position. The mounting hardware may sit beside or across the tailpiece, but that does not always tell you where the cup itself sits: some designs extend toward the center. Try models with a teacher or shop so your jaw can make comfortable contact without excessive head turning. Have a shop handle replacement or adjustment of the chinrest clamps if you are unsure.
Our shoulder rest guide introduces different designs and options. Use it to narrow down choices, then check the fit on your own instrument.
Left-Hand Position and Common Mistakes
A useful starting position gives the violin support while leaving the fingers free to move:
- Comfortably aligned wrist. Keep the palm from collapsing against the neck, without locking the wrist in place.
- Light thumb contact. The thumb often sits near the first-finger area in first position, but its exact position varies with hand shape and what you are playing.
- Curved, flexible fingers. Let the fingers reach the strings from above without forcing every finger into an identical curve.
- Space at the palm. Keep the palm clear of the neck so the hand can move and the fingers can reach.
Use this checklist as a way to notice habits, not as a set of rigid measurements:
| Habit to check | What to try |
|---|---|
| Squeezing the neck | Reduce thumb pressure while keeping the violin supported; ask a teacher to check how the hand is balancing it. |
| Collapsing the wrist | Keep the palm clear and check the wrist's comfortable alignment in a mirror. |
| Raising the left shoulder | Pause and review the chinrest, shoulder support and instrument position together. |
| Pressing the head down | Ease unnecessary pressure and find gentle jaw contact without clenching. |
| Locking or hooking the thumb | Let the thumb remain flexible; find a position that lets the fingers reach without squeezing. |
| Letting the scroll sag or holding it too high | Return to a comfortable, roughly level starting position and check both arms' freedom of movement. |
Run through the list at the start of practice and during short breaks. If an adjustment makes the hold less secure, support the violin with both hands and ask for help.
Left-Handed Players, Kids and Discomfort: Quick Answers
Left-handed players. Many left-handed beginners learn the standard setup, with the violin on the left side and the bow in the right hand. Both hands develop skilled movements, so left-handedness alone does not require a reversed instrument. The standard setup gives you broad access to instruments, teaching materials and ensemble conventions. It does not guarantee an identical learning experience for everyone; discuss individual comfort or physical needs with a teacher before choosing a setup.
Kids. A correctly sized violin makes it easier to reach the notes without overstretching. An oversized instrument can encourage awkward positions. Use our violin size guide as a starting point, then have a teacher or shop confirm the fit. Keep early practice short enough that the child can stay comfortable and attentive.
Discomfort. An unfamiliar position can take time to learn, but pain is not a practice goal. Tension, equipment fit and practice load may contribute to discomfort, and a checklist cannot identify every cause. Stop if playing hurts. Ask a teacher to review technique and fit, and seek advice from a qualified healthcare professional if pain persists, recurs or comes with symptoms such as numbness or weakness.
Find the Right Fit at Shar Music
A comfortable hold starts with an instrument and support that suit you. Browse our shoulder rests, or use the shoulder rest guide to compare designs. If the chinrest does not fit comfortably, explore our chinrests with help from a teacher or shop. For a young player, start with our violin size guide and confirm the fit before buying. Our team can help you compare the available options.
FAQ
Is holding a violin uncomfortable at first?
It may feel unfamiliar, but you should not have to practice through pain. Take short breaks and ask a teacher to check your hold, instrument size, chinrest and any shoulder support. Persistent or recurring discomfort should not simply be treated as a normal part of learning.
How do you hold a violin if you're left-handed?
Many left-handed players learn the standard setup: violin on the left side, bow in the right hand. Both hands learn demanding skills, so being left-handed does not automatically mean you need a reversed violin. Discuss your comfort and any physical requirements with a teacher before choosing an instrument or setup.
Do I need a shoulder rest to hold the violin?
Not necessarily. Some players use a shoulder rest, some use a pad, and some use neither. The choice depends on your build, chinrest and technique. A suitable support can improve comfort and stability, but its height and shape need to fit you. Ask a teacher to assess the whole setup rather than assuming that a higher rest is always better.
How tightly should I grip the violin with my chin?
Avoid clamping the violin with your jaw or pressing your head down forcefully. Aim for gentle, comfortable contact with the chinrest while your upper body and left hand share support. You do not need to make the violin stay in place by head pressure alone. If you feel insecure without squeezing, ask a teacher to check the fit and balance.
How do I hold a violin for kids?
The basic principles are the same: a balanced stance, comfortable jaw contact and a flexible left hand. First make sure the violin fits the child's reach. An oversized instrument can lead to overstretching and awkward posture. Have a teacher confirm the size and support, and keep early sessions short enough to maintain comfort and attention.
Where should the violin rest on my shoulder?
In a standard hold, the violin sits against or near the left collarbone, with a shoulder rest or pad providing extra support if used. The scroll points forward and to your left. The exact height and tilt depend on your build and setup; aim for comfortable reach and free movement rather than a fixed angle.
Why does my arm or neck hurt when I hold the violin?
Tension, an unsuitable setup or too much practice without breaks can contribute, but pain cannot be diagnosed from posture alone. Stop playing if it hurts. A teacher can help review technique and fit; a qualified healthcare professional should assess pain that persists or returns, or symptoms such as numbness or weakness.