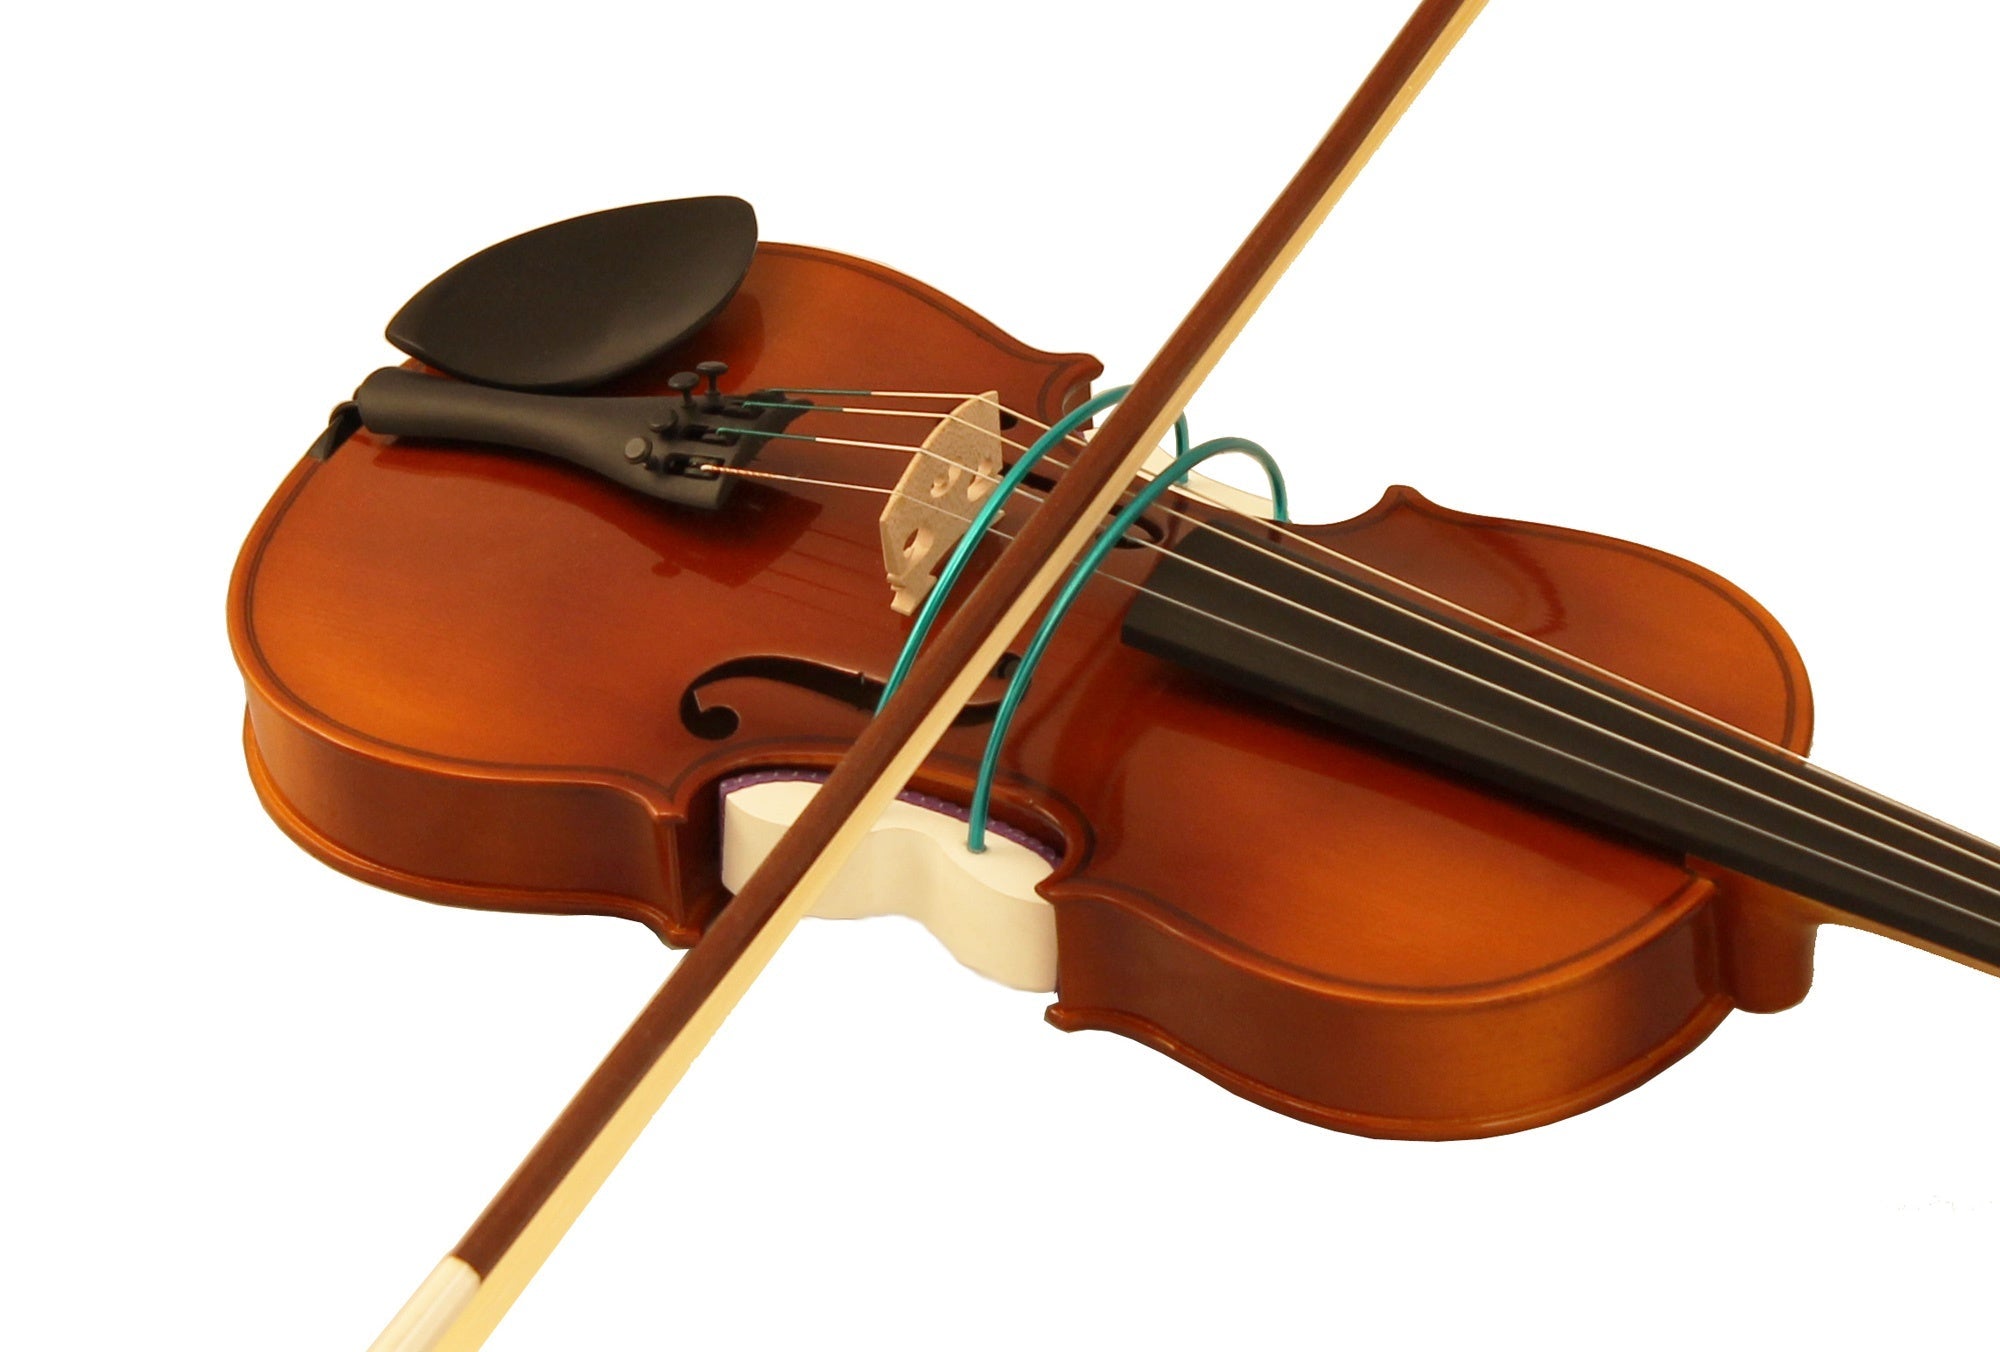
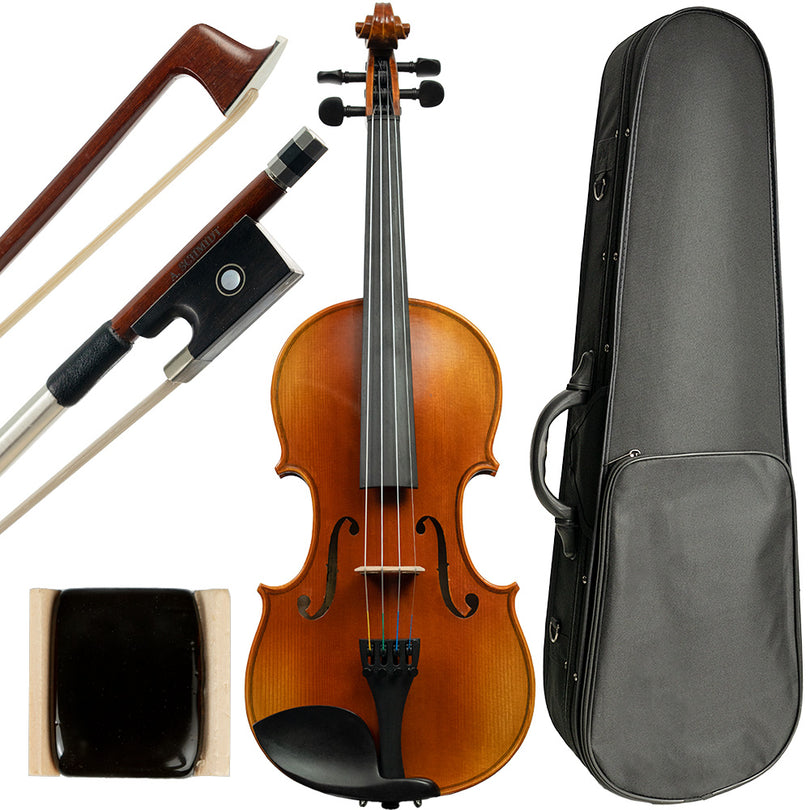





Fresh strings can restore clarity and response when an old set has worn out. Changing them is a useful skill to learn, but your first attempt is easier with a teacher or experienced string technician nearby. This guide covers choosing compatible strings, replacing them one at a time, and bringing them up to pitch without forcing the instrument's fittings.
Before You Start: Tools, Strings and Basic Checks
You can learn to replace your own violin strings if the instrument is in good condition and you are comfortable tuning it. If the bridge has moved, a peg is stuck, or something is loose inside the violin, have those issues checked before starting.
Gather these items:
- New strings labeled for your violin's size, intended pitch and suitable tension or gauge. Some products cover more than one fractional size; follow the maker's size designation.
- A soft graphite pencil for a light coating in the existing nut and bridge grooves.
- A tuner or tuning app that lets you check the intended note, not just whether the nearest note is in tune.
- A clean, soft cloth and a stable, padded working surface.
Keep three principles in mind:
- Finish one string before removing the next. Keep the other strings in place and approximately at pitch. Removing all the strings can allow the bridge or soundpost to shift or fall. If one string is already broken, replace that one first.
- Check compatibility before opening the packet. Confirm the instrument size, string identity, gauge or tension, and tailpiece-end fitting. Do not choose a string by length or price alone.
- Tune gradually to the intended pitch. Do not tune sharp to hurry the settling process. Over-tuning can break a string, and tuning can also pull the bridge out of alignment.
The steps below describe conventional friction pegs. If your violin has geared pegs or unusual fittings, follow their manufacturer's instructions; do not apply peg compound or push them inward as though they were ordinary wooden pegs.
Choosing the Right Strings: Steel, Synthetic or Gut
Core material is a useful starting point, although the exact sound and response depend on the string design and your violin.
Steel-core strings often offer a clear response and good tuning stability. Steel E strings are common even in sets whose lower strings have synthetic or gut cores.
Synthetic-core strings use nylon or other synthetic materials and come in a wide range of tonal colors. They are an option for players at many levels and are generally less sensitive to humidity than gut strings.
Gut-core strings have a traditional feel and tonal character. They tend to be more sensitive to environmental changes and may require more frequent tuning. No core material is automatically the best choice for every violin or player.
Check the E-string end fitting carefully. A loop-end string needs a compatible hook-style attachment; a ball-end string needs a fitting designed to seat the ball securely. Fine tuners, integrated tailpieces and adapters vary, so match the string to the actual fitting rather than relying only on its appearance. Do not put a hook through the hole in a ball end unless the manufacturer explicitly specifies that arrangement. Only remove a ball to convert a string to a loop end when the string is designed for it.
Browse our violin strings by brand, size and type, and ask a teacher or shop if you are unsure about the end fitting or tension.
Step-by-Step: Removing the Old String and Installing the New One
Set the violin securely on a clean, padded surface with the strings facing upward. A soft cloth beneath the tailpiece area can help protect the varnish from accidental contact. Keep each new string in its labeled packet until you are ready to install it.
- Loosen the old string. Trace it to the correct peg, then turn the peg slowly to reduce tension until the string is slack. Do not force a stuck peg.
- Remove that string only. Unwind it from the peg, withdraw the end from the peg hole, and release the ball or loop from the tailpiece or fine tuner. Keep the other strings in place.
- Check the fittings. Look for rough edges, damaged grooves or a peg that turns poorly. Peg compound is optional maintenance for suitable friction pegs, not a required step at every string change. Use it sparingly according to its directions or a luthier's advice. Persistent sticking or slipping needs a fit check.
- Prepare the grooves and fine tuner. Apply a thin layer of pencil graphite to the existing nut and bridge grooves without widening or cutting them. If there is a fine tuner, back it off enough to leave useful adjustment travel while keeping the screw securely engaged. Check that no part of an external tuner is pressing against the violin's top.
- Seat the ball or loop end. Attach the string using the correct fitting and keep gentle tension on it so it stays seated. Check that the end is secure before winding the peg.
- Thread the peg hole. Guide the string along its intended path over the bridge and nut, then feed the peg end through the hole. Leave the short tail specified by the string maker or demonstrated by your teacher; it needs to stay captured as the first turns form. Avoid a long loose end that can touch neighboring strings or the pegbox.
- Secure and wind the string. On a conventional setup, the string passes over the top of the peg as it runs toward the nut. To tighten, the upper surface of the peg rotates away from the fingerboard, toward the scroll. A common securing method makes an initial turn on the side away from the peg head, then crosses over the projecting string end before continuing toward the peg head. Follow any different instructions supplied with your strings. Keep the remaining coils neatly beside one another, without piling them up or pinching the string against the pegbox wall.
- Check the string path and E-string protection. Make sure the string remains in its nut and bridge grooves, the end fitting is still seated, and the coils clear the pegbox wall and other strings. If the E string has a bridge-protector tube, position it over the bridge contact according to the string maker's instructions. An existing parchment protector may change what is needed; ask a teacher or luthier if unsure.
- Bring this string to pitch and recheck the others. Follow the tuning checks below before removing another string. Check the bridge throughout, rather than waiting until the full set is installed.
In what order should you restring a violin? Replace a broken string first. Otherwise, any order is workable if you complete one string at a time. G, D, A, then E is one simple sequence to follow; it is not a required tuning or installation order.
Bringing Strings to Pitch and Getting Them to Settle
For standard tuning, check these open-string notes:
| String | Target note |
|---|---|
| G | G3 |
| D | D4 |
| A | A4 |
| E | E5 |
A4 = 440 Hz is a common tuning reference; follow your teacher or ensemble if they use another. Confirm the note name and octave where your tuner displays them. A centered indicator on the wrong note does not mean the string is correctly tuned.
Turn a conventional friction peg in small increments while plucking the string and watching the tuner. Use only gentle inward pressure as needed to seat the peg; never force it. Use a fine tuner, where fitted, for the final small adjustments. If you go above the intended pitch, loosen slightly and approach it again from below.
Watch the bridge before, during and after tuning. Its feet should remain fully seated, and the upper edge should not be pulled toward the fingerboard. A correctly fitted bridge normally has its tailpiece-facing side approximately perpendicular to the local top surface. This is a visual check, not an instruction to reshape or force the bridge. If it leans, shifts, or has a foot lifting, stop increasing tension and ask a teacher or luthier to help. Have bridge correction demonstrated before attempting it yourself.
If the soundpost falls, do not bring the instrument back up to pitch or keep playing. Carefully release the remaining string tension and have a luthier reset it before tuning again.
New strings often need frequent retuning during their first playing sessions. Steel strings tend to stabilize relatively quickly, while synthetic and gut strings vary by model and conditions. Some settle within a day or two; others take longer. Follow the string maker's guidance rather than expecting a fixed timetable for every set.
Avoid yanking on the strings, pulling them sideways or tuning them sharp to speed up the process. Normal playing and patient retuning allow them to settle while you continue checking the bridge and fittings.
Troubleshooting: Slipping Pegs, Buzzing and Strings That Break
Slipping pegs. First distinguish a peg that is turning backward from a new string that is settling. For an ordinary friction peg, gentle inward seating may help; persistent slipping can indicate a fit or winding problem. Peg compound may help some friction pegs, but it is not a substitute for properly fitted pegs and is not a universal treatment for every tuning mechanism.
Buzzing. Check for a loose fine-tuner screw, hardware touching the top, a loose string end or a misplaced E-string protector. Buzzes can have other causes, so do not keep tightening parts or moving the bridge to chase an unidentified noise. Ask a shop if you cannot find a simple cause.
Strings breaking during tuning. Possible causes include the wrong target pitch, a damaged or sharply bent string, sharp contact edges, a pinched winding or an incompatible end fitting. Repeated breaks at the same place call for inspection of the nut, bridge, peg hole or fine tuner. Graphite does not repair a sharp edge; leave filing or reshaping to a luthier.
Strings pulling out of the peg hole. Release the tension and check how much of the end was inserted and how the initial turns secured it. Do not assume every string must use exactly the same tail length or winding method. Reinstall according to the maker's guidance or have an experienced player demonstrate it.
If the bridge or soundpost has moved, a peg will not turn normally, or the same problem keeps returning, stop and have the instrument checked before continuing.
Keep Your Violin Sounding Its Best
Once you have learned the process, changing strings can become part of routine care. Explore our violin strings to compare suitable options for your instrument and playing needs.
For conventional friction pegs that need appropriate conditioning, Hill Peg Compound is one option to discuss with your teacher or luthier. If a problem needs professional attention, our repairs and restoration service can help you arrange an assessment.
FAQ
Can you restring a violin yourself?
Yes, once you have learned the process and can tune the instrument confidently. For a first attempt, ask a teacher or string technician to guide you. Use compatible strings, finish one string before removing the next, and stop if a peg sticks or the bridge moves.
Is it difficult to restring a violin?
The basic sequence is learnable, but seating the string ends, winding the pegs and checking the bridge take care. Work slowly and have help available for your first change. A setup problem is a reason to consult a shop, rather than to use more force.
In what order should you restring a violin?
Replace a broken string first. If all strings are intact, any order is fine provided you remove, install and tune one string before moving to another. G, D, A, then E is one possible sequence. Keep checking the other strings and the bridge as you work.
How much does it cost to restring a violin?
For a home string change, the main cost is the replacement string or set, plus any supplies you need. Prices vary by brand, model, size and string type. If a shop does the work, ask for the current installation charge and whether any setup work is additional. Check the selected product or request a quote for an accurate total.
Should I change all the strings at once?
You can renew a full set in one session, but remove and replace only one string at a time. Bring it back to pitch and check the bridge before starting the next. Removing all strings together can allow the bridge or soundpost to move or fall.
How long do new violin strings take to settle?
Expect extra retuning during the first sessions. The time depends on the string model, material and conditions: some stabilize within a day or two, while others take longer. Steel strings often settle relatively quickly. Follow the maker's guidance and avoid pulling hard on the strings or tuning above the intended pitch.
Which way do you turn the pegs when stringing a violin?
On a conventional setup, the string should pass over the top of the peg on its way toward the nut. To tighten, the upper surface of the peg turns away from the fingerboard, toward the scroll. Clockwise and counter-clockwise descriptions depend on which side you are viewing, so check the actual string path. Guide the coils neatly toward the peg-head side while leaving clearance from the pegbox wall. Follow the maker's instructions for geared pegs.